(Unicode)
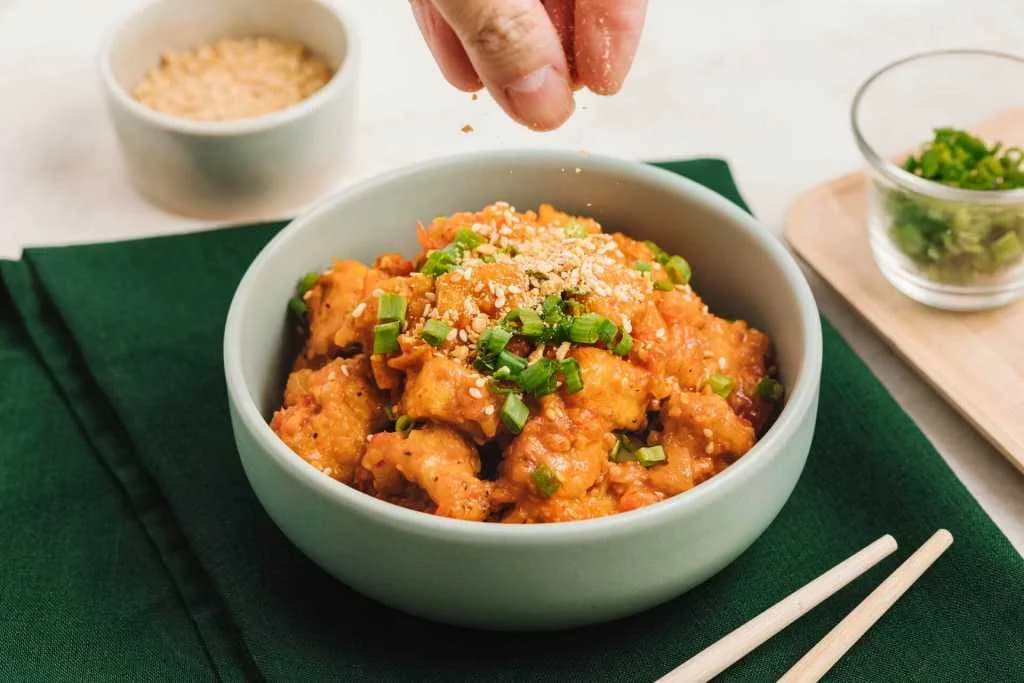
Hello everyone! This time, I'd like to share the recipe for honey-glazed fried tofu.
Ingredients
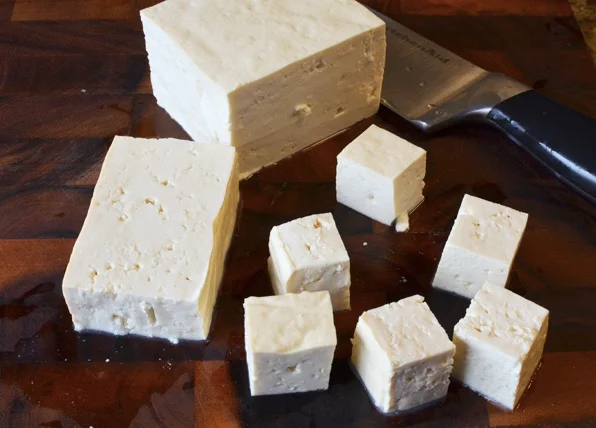
- Tofu 400 grams
- Corn starch 4 tablespoons
- 1 finely sliced shallot, 2 teaspoons of thinly sliced garlic, and 2 teaspoons of ginger
- 2 chili pods (thinly sliced) and 1 tablespoon of chili flakes
- Fish sauce 4 teaspoons
- Honey 4 teaspoons and brown sugar 1 teaspoon
- Sesame seeds 2 tablespoons and sesame oil 1 tablespoon
- A little peanuts and 3 stalks of spring onion (thinly sliced)
- A little salt and ground pepper
- 250 milliliters of water and a little vegetable oil
Step-by-step Method
1. Pat the tofu dry, then cut it into small cubes. After that, mix it well with 2 tablespoons of corn starch, half a teaspoon of salt, and half a teaspoon of ground pepper.
Heat the pan, add oil, and fry the tofu pieces. Once the tofu turns golden brown, place it on an oil-absorbing paper.
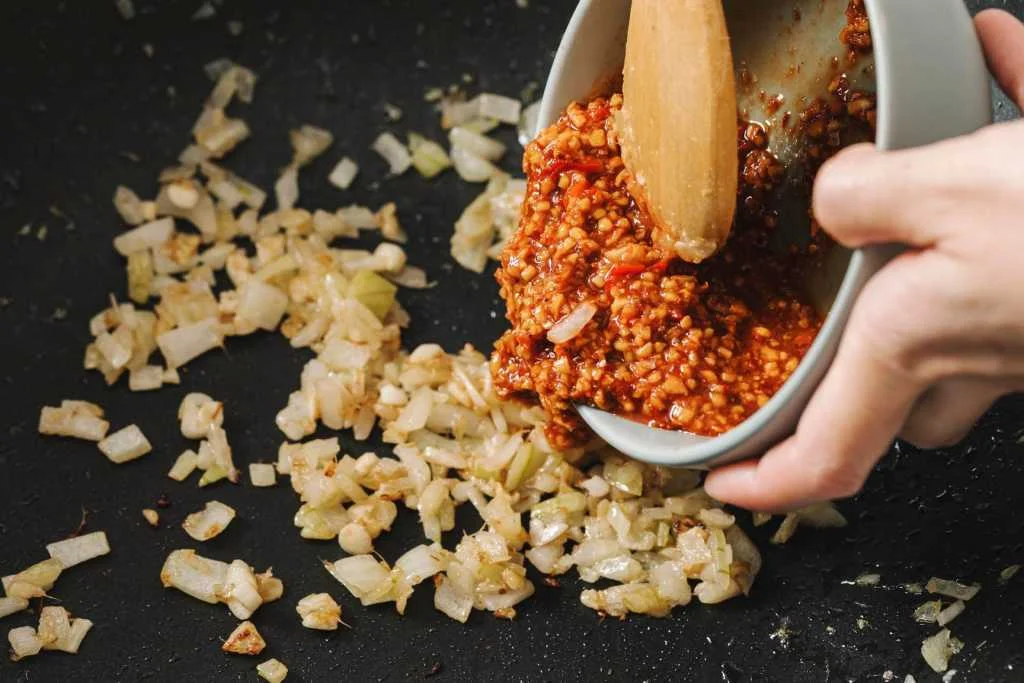
2. For step (2), you need to make the honey sauce. In a bowl, add 2 teaspoons of fish sauce, 1 teaspoon of brown sugar, 4 tablespoons of water, 2 teaspoons of honey, a little peanuts, 1 tablespoon of chili flakes, chili pods, half a teaspoon of salt, and 1 teaspoon of ground pepper, then mix well.
Heat the pan and add 1 tablespoon of sesame oil and 1 tablespoon of vegetable oil. Once the oil is hot, add 1 teaspoon of thinly sliced ginger, 2 teaspoons of shallot, and garlic, then sauté until fragrant.
Once fragrant, pour the sauce from the bowl into the pan and stir-fry well.
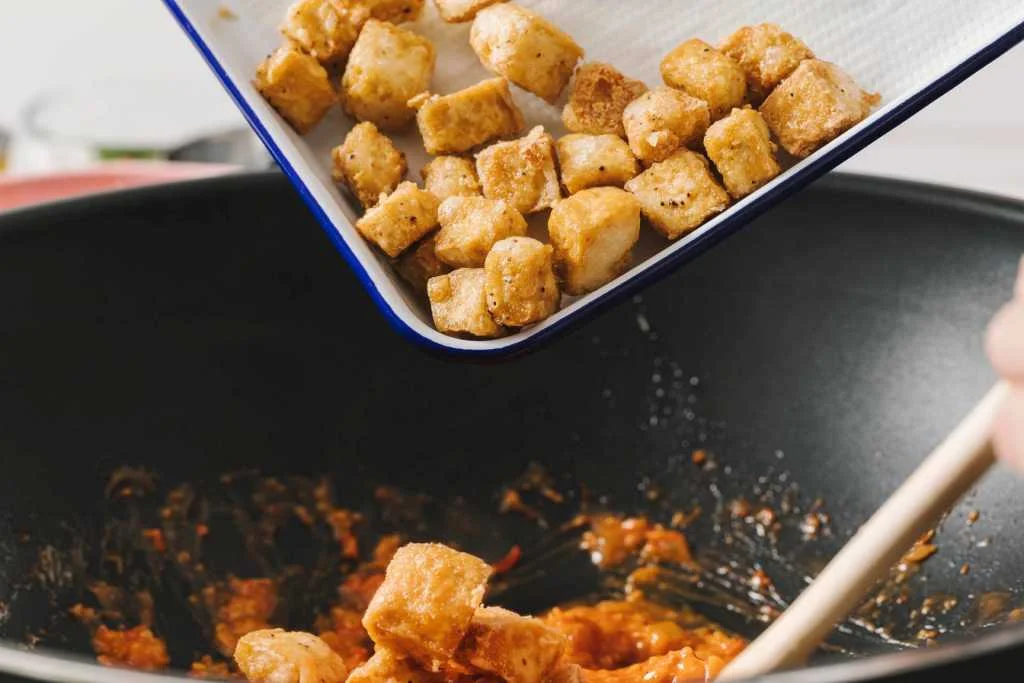
3. In a bowl, mix 2 tablespoons of corn starch with 250 milliliters of water until well combined. Then pour it into the pan.
After that, add the fried tofu and cook for about 2 to 3 minutes.
Just before taking it off the stove, add sesame oil and spring onion, then stir-fry.
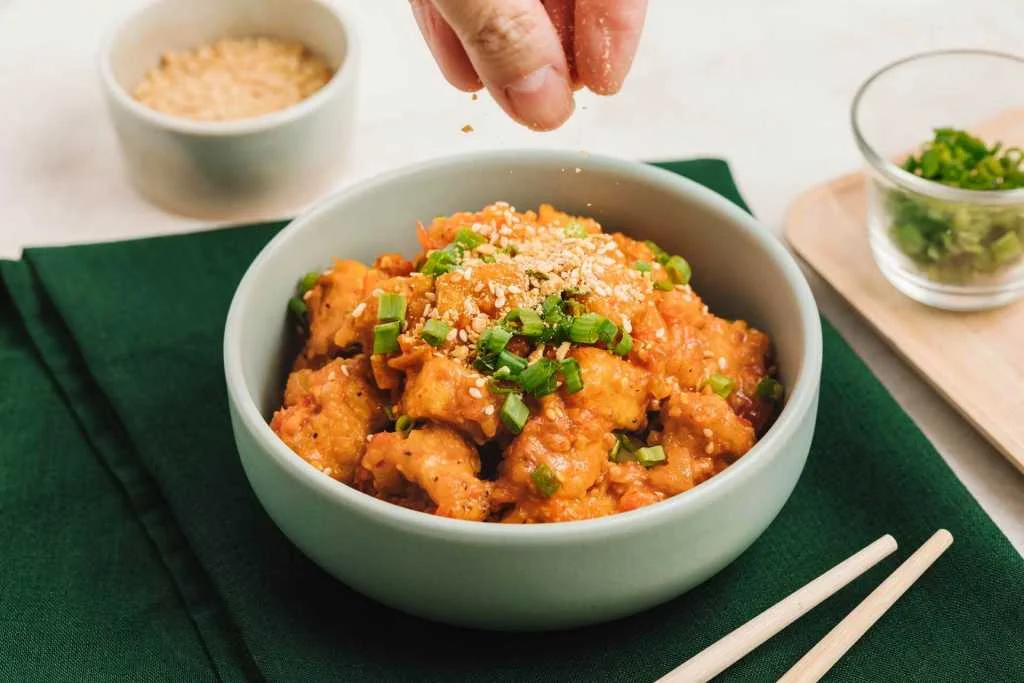
Once done, transfer it to a bowl.
And there you have it — a delicious honey-glazed fried tofu!
Source: Asianfoodnetwork.com
(Zawgyi)
အားလံုးပဲ မဂၤလာပါ။ ဒီတစ္ခါမွာေတာ့ ပ်ားရည္ဆမ္းထားတဲ့ ပဲျပားေၾကာ္ ျပဳလုပ္နည္းကို ေဝမွ်ေပးခ်င္ပါတယ္။
ပါဝင္ပစၥည္းမ်ား
- ပဲျပား ၄၀၀ ဂရမ္
- ေျပာင္းမႈန္႔ စားပြဲတင္ဇြန္း ၄ ဇြန္း
- ႏုပ္ႏုပ္စဥ္းထားေသာ ၾကက္သြန္နီ ၁ ဥ၊ ပါးပါးလွီးထားေသာ ၾကက္သြန္ျဖဴ လက္ဖက္ရည္ဇြန္း ၂ ဇြန္းႏွင့္ ဂ်င္း လက္ဖက္ရည္ဇြန္း ၂ ဇြန္း
- ငရုတ္သီးေတာင့္ ၂ ေတာင့္ (ပါးပါးလွီးထားပါ)ႏွင့္ ငရုတ္ႏွစ္ စားပြဲတင္ဇြန္း ၁ ဇြန္း
- ပဲငံျပာရည္ လက္ဖက္ရည္ဇြန္း ၄ ဇြန္း
- ပ်ားရည္ လက္ဖက္ရည္ဇြန္း ၄ ဇြန္းႏွင့္ သၾကားညိဳ လက္ဖက္ရည္ဇြန္း ၁ ဇြန္း
- ႏွမ္းေစ့ စားပြဲတင္ဇြန္း ၂ ဇြန္းႏွင့္ ႏွမ္းဆီ စားပြဲတင္ဇြန္း ၁ ဇြန္း
- ေျမပဲအနည္းငယ္ႏွင့္ ၾကက္သြန္ၿမိတ္ ၃ ပင္ (ပါးပါးလွီးထားပါ)
- ဆားႏွင့္ ငရုတ္ေကာင္းမႈန္႔ အနည္းငယ္
- ေရ ၂၅၀ မီလီလီတာႏွင့္ ဟင္းသီးဟင္းရြက္ဆီ အနည္းငယ္
ျပဳလုပ္နည္း အဆင့္ဆင့္
၁။ ပဲျပားမ်ားကို ေျခာက္ေသြ႔ေအာင္ သုတ္ထားၿပီးေနာက္ ေလးေထာင့္အတံုးငယ္ တံုးထားလိုက္ပါ။ ထို႔ေနာက္ ေျပာင္းမႈန္႔ စားပြဲတင္ဇြန္း ၂ ဇြန္း၊ ဆား လက္ဖက္ရည္ဇြန္း တစ္ဝက္၊ ငရုတ္ေကာင္းမႈန္႔ လက္ဖက္ရည္ဇြန္း တစ္ဝက္တုိ႔ျဖင့္ သမေအာင္ နယ္ထားလိုက္ပါ။
ဒယ္အိုးကို အပူေပးၿပီး ဆီထည့္ကာ ပဲျပားမ်ားထည့္ေၾကာ္လိုက္ပါ။ ပဲျပားမ်ား ေရႊညိဳေရာင္ေျပာင္းသြားပါက ဆီစုပ္စကၠဴေပၚတင္ထားလိုက္ပါ။
၂။ အဆင့္ (၂) အေနနဲ႔ ပ်ားရည္ေဆာ့စ္ျပဳလုပ္ရပါမယ္။ ပန္းကန္လံုးတစ္လံုးထဲ ပဲငံျပာရည္ လက္ဖက္ရည္ဇြန္း ၂ ဇြန္း၊ သၾကားညိဳ လက္ဖက္ရည္ဇြန္း ၁ ဇြန္း၊ ေရ စားပြဲတင္ဇြန္း ၄ ဇြန္း၊ ပ်ားရည္ လက္ဖက္ရည္ဇြန္း ၂ ဇြန္း၊ ေျမပဲအနည္းငယ္၊ ငရုတ္ႏွစ္ စားပြဲတင္ဇြန္း ၁ ဇြန္း၊ ငရုတ္သီးေတာင့္၊ ဆား လက္ဖက္ရည္ဇြန္း တစ္ဝက္၊ ငရုတ္ေကာင္းမႈန္႔ လက္ဖက္ရည္ဇြန္း တစ္ဇြန္းတို႔ကို ပန္းကန္လံုးထဲထည့္ၿပီး သမေအာင္ ေမႊထားလိုက္ပါ။
ဒယ္အိုးကို အပူေပးၿပီး ႏွမ္းဆီ စားပြဲတင္ဇြန္း ၁ ဇြန္းႏွင့္ ဟင္းသီးဟင္းရြက္ဆီ စားပြဲတင္ဇြန္း ၁ ဇြန္းတို႔ထည့္ထားလိုက္ပါ။ ဆီပူလာပါက ပါးပါးလွီးထားေသာ ဂ်င္း လက္ဖက္ရည္ဇြန္း ၁ ဇြန္း၊ ၾကက္သြန္နီ လက္ဖက္ရည္ဇြန္း ၂ ဇြန္းႏွင့္ ၾကက္သြန္ျဖဴ တိို႔ထည့္ၿပီး အနံ႔ေမႊးလာေအာင္ ဆီသတ္ထားလိုက္ပါ။
အနံ႔ေမႊးလာပါက ပန္းကန္လံုးထဲကေဆာ့စ္မ်ားကို ဒယ္အိုးထဲ ထည့္ကာ သမေအာင္ ေမႊေၾကာ္ေပးလိုက္ပါ။
၃။ ပန္းကန္လံုးတစ္လံုးထဲတြင္ ေျပာင္းမႈန္႔ စားပြဲတင္ဇြန္း ၂ ဇြန္းႏွင့္ ေရ ၂၅၀ မီလီလီတာတို႔ကို သမေအာင္ ေမႊထားလိုက္ပါ။ ထို႔ေနာက္ ဒယ္အိုးထဲ ေလာင္းထည့္လိုက္ပါ။
ၿပီးရင္ေတာ့ ပဲျပားေၾကာ္မ်ားကို ၂ မိနစ္၊ ၃ မိနစ္ခန္႔ ထည့္ေၾကာ္ေပးရပါမယ္။
မီးဖိုေပၚက ခ်ခါနီးက်မွ ႏွမ္းဆီႏွင့္ ၾကက္သြန္ၿမိတ္တို႔ထည့္ကာ ေၾကာ္ေပးလိုက္ပါ။
ၿပီးတာနဲ႔ ပန္းကန္လံုးထဲ ေျပာင္းထည့္လိုက္ပါ။
ဒါဆိုရင္ေတာ့ အရသာရွိတဲ့ ပ်ားရည္ဆမ္း ပဲျပားေၾကာ္ေလး ရရွိသြားပါၿပီ။
Source: Asianfoodnetwork.com